All About FPV Quadcopters
September 22, 2022
Ever since I watched the quadcopter scene in the Bollywood movie "3 Idiots," I have been fascinated with multicopters. Naturally, I wanted to build my own, but as a child, the high costs made it nearly impossible. However, the desire to create one lingered in the back of my mind. When I was in 6th grade, I started saving up whatever money I could to turn my dream of building a quadcopter into reality.
At the time, I had no knowledge about quadcopters, what specific hardware I needed, what software they used, and so on. All I knew was that I somehow had to control four fan motors with a radio transmitter and make them fly. So, I finally jumped down the rabbit hole of quadcopters and started exploring.
Types of Quadcopters
There are many types of quadcopters: FPV, photography, agricultural, and surveying are some of the more popular ones. But the ones that caught my eye were FPV drones.
FPV Drones are:
- Built for speed and agility.
- Use lightweight frames and high-power motors.
- Used for FPV racing.
Frame:


The frame is the structural backbone of the quadcopter.
- Materials: Primarily carbon fiber for its strength-to-weight ratio, but aluminum, plastic, fiberglass, and 3D-printed options are also available.
- Design: Frames come in various configurations such as X-frame (symmetrical, commonly used in racing), H-frame (wider, offering more space for components), and stretched X (better stability and tracking).
- Size: Measured in millimeters, typically ranging from micro (75mm) to full-size (250mm and above), based on motor-to-motor diagonal distance.
- PDB: Many frames come with a Power Distribution Board, it is a PCB from where the battery power is distributed to all other components. It generally has BECs built in which provide other voltages like 5V, 9V, 12V etc.


Brushless motors are commonly used in quadcopters for their efficiency and power.
- Kv Rating: Indicates motor speed relative to voltage (e.g., 2300Kv means 2300 RPM per volt). Higher Kv motors are faster but consume more power, while lower Kv motors offer more torque.
- Pole Count: Refers to the number of magnetic poles. Higher pole counts provide smoother control and better efficiency.
- Size: Brushless motors have a size code like 2306, 2207, etc. In the case of 2207, the 22 refers to the width/size of the motor and the 07 refers to the height, including the height of the stator. Taller stators provide more power at higher RPM, while wider stators offer more torque at lower RPM.
- Thread: Brushless motors designed for FPV quadcopters usually have two thread types. CW and CCW, the shaft thread is in the opposite direction of the motor spin direction. It is done so that the shaft nut doesn't come loose during flight. CW motors must spin in a clockwise direction while the CCW ones must spin in an anticlockwise direction.

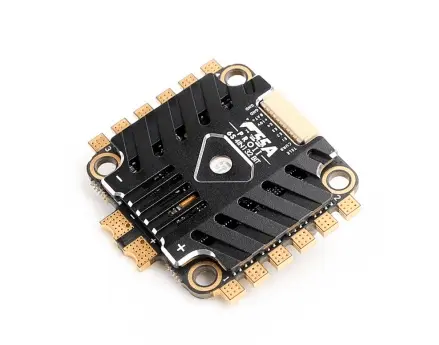
ESCs regulate the power to the motors and allow for precise control of motor speed.
- Current Rating: Indicates the maximum current (measured in amps) the ESC can handle. Matching ESCs to motor and battery specifications is crucial to prevent overheating and failure.
- Firmware: ESCs run firmware (like BLHeli, KISS, or SimonK) that can be customized for performance tweaks.
- Protocols: DSHOT, OneShot, and MultiShot are digital protocols used for faster and more reliable communication between the flight controller and ESCs.

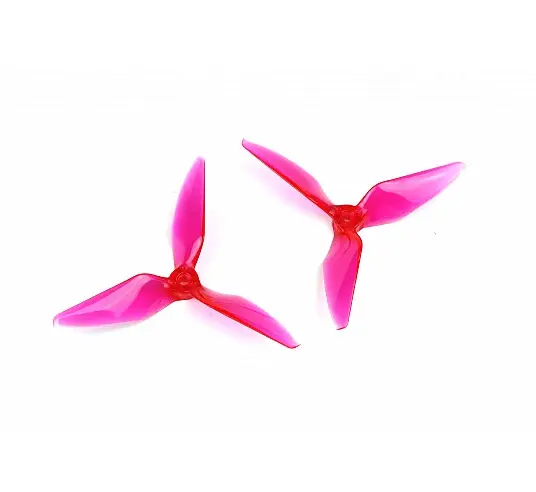
Propellers are usually made of plastic or carbon fiber. The size, pitch, and number of blades affect flight characteristics.
- Size: Typically measured in inches (e.g., 5-inch props for racing drones). Larger props provide more lift, while smaller ones offer faster response.
- Pitch: Angle of the blades, measured in degrees. Higher pitch means more thrust but requires more power. High pitch propellers are usually made with rigid plastics to minimize flexing, while low pitch ones can be made from flexible plastic, which is less prone to breaking upon impact.
- Variants: Just like motors, propellers also come in CW and CCW variants, where the angle of the blades is in the opposite direction for CCW to compensate for the reverse spin direction of the CCW motor. CW propellers must be used with CW motors and CCW with CCW motors.
- Blades: The higher the number of blades, the higher the lift the propeller can generate, but at the cost of using more power due to higher torque requirements. Tri-blade propellers are most common for FPV racing.
- Material: Plastic props are common, but carbon fiber and composite materials are used for higher performance and durability.
- Size Code: Propellers have a size code like 5048, 5051, etc. In the case of 5051, the 50 refers to the size of the propeller in inches (5 inches) and the 51 refers to the pitch of the propeller in degrees (51 degrees).

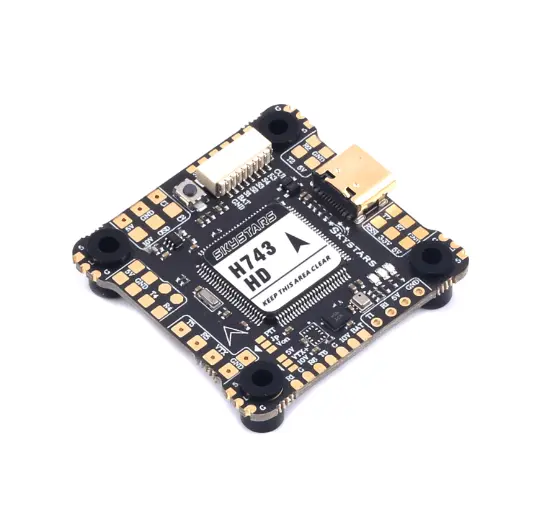
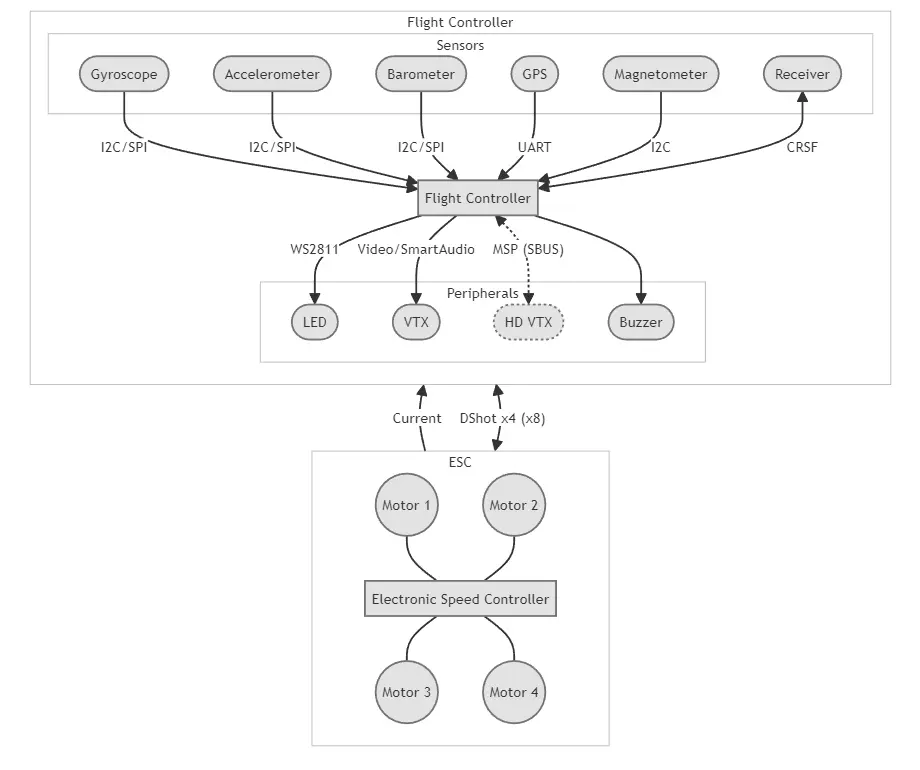
The flight controller is the brain of the drone. It contains sensors like gyroscopes and accelerometers to stabilize and various input ports to control the drone.
- Processor: Typically uses ARM Cortex processors of the STM series (F1, F3, F4, F7, H7). Faster processors allow for more complex calculations and better flight performance.
- Sensors: In addition to Gyroscopes and Accelerometers, some flight controllers include Barometers (for altitude hold), Magnetometers (for direction), OSDs (for FPV telemetry), and even Blackboxes (for flight logs). Many flight controllers also have built in PDBs which even have current sensing.
- Firmware: Runs firmware like Betaflight, Cleanflight, or INAV, which can be configured and tuned for various flying styles and stability. The current gold standard is Betaflight due to its very active development and cutting edge features. Most of these firmwares only support F3 processors and onwards, with support for F3 processors recently been deprecated.


Typically, a LiPo (Lithium Polymer) battery is used due to its high energy density for longer flight times and high current draw for powerful motors.
- Voltage (S Rating): Indicates the number of cells in series. Common configurations are 3S (11.1V), 4S (14.8V), 6S (22.2V), and so on. Higher voltage provides more power.
- Capacity (mAh): Milliamps per hour rating indicating how much charge the battery holds. Higher capacity means longer flight times but a significant increase in battery size and weight.
- C Rating: Indicates the discharge rate. Higher C ratings mean the battery can provide more current to the motors without voltage sag. Batteries generally have two C Ratings, a continuous C Rating, and a Burst C Rating. A battery's current draw can be calculated with the following formula:
- Current draw (in Amps) = C Rating * Battery capacity (in Ah)
- Connector: LiPo batteries can have many types of connectors e.g. XT60, XT90, EC-5, T-Plug and many more. Make sure that your PDB has the same connector type has your LiPo battery.
- Special Batteries: Some LiPo batteries use materials like Graphene and have a much higher C Rating than normal LiPo batteries but cost much more.
- Some LiPo batteries, called HV LiPo batteries, have a higher nominal voltage of 3.8V rather than the standard 3.7V. They also have a higher charging voltage and allow for up to 15% longer flight time but require special chargers.
- Some batteries, called Smart LiPo batteries, have a built-in chip that records the charge/discharge cycles, output current, and much more. The Smart batteries are quite limited in terms of manufacturers as of now.

The radio transmitter and receiver allow the pilot to control the drone remotely.
- Frequency: Commonly, 2.4 GHz is used, but 900 MHz (e.g. TBS Crossfire, ExpressLRS) is used for long-range due to its higher penetration power, resulting in long-range communication.
- Channels: More channels allow for additional control features (e.g., switching flight modes, activating cameras, etc).
- Telemetry: Provides real-time data (battery voltage, signal strength) from the quadcopter to the transmitter.
- Firmware: Many popular transmitters can run the OpenTX firmware, which is actively developed and feature-rich.
- Radio Modules: Various RF Modules can be connected to the radio transmitter, allowing it to use new protocols and transmit at different frequencies (e.g. ExpressLRS, 4in1 Multiprotocol module, etc.).

The camera provides the live video feed to the pilot. Quality ranges from standard definition in analog cameras to high definition in digital camera systems.
- Resolution: Common resolutions are 600TVL (Analog) to 1080p (Digital). Higher resolution provides better image quality.
- Field of View (FOV): Wider FOV cameras provide more immersive views but can distort the image.
- Latency: Lower latency is critical for fast response times, especially in racing.
- Types: Analog and digital FPV systems have their own camera systems which are not interchangeable. Analog cameras are priced much lower but having worse picture quality. Digital systems are superior but have few options available which are much more pricey than their Analog counterparts. Digital systems have the camera bundled with the VTX and can't be interchanged with any other camera/VTX. There are currently only three digital FPV system providers
- DJI
- WalkSnail
- HDZero


The VTX sends the video feed from the camera to the pilot’s goggles or screen. It operates on various frequencies (e.g., 5.8 GHz).
- Analog System: Has separate VTX or ones built onto the flight controller.
- Digital Systems: Digital systems VTXs are bundled with their cameras and use proprietary protocols. Only licensed manufacturers are allowed to produce them.
- Power Output: Measured in milliwatts (mW), common outputs are 25mW, 200mW, 600mW, and can go up to 2500mW. Higher output means longer range but requires proper cooling and can interfere with other signals.
- Channels and Bands: Multiple channels and frequency bands (e.g., Fat Shark, Raceband, E band) to avoid interference with other pilots. Some bands and channels are not usable in certain countries due to non-compliance with FCC regulations.
- Smart Audio/Tramp Protocols: Allow remote adjustment of VTX settings through the flight controller.


The FPV monitor or goggles receive the video feed from the VTX and display it. Goggles provide an immersive experience, while monitors are more convenient for quick viewing and tuning.
- Analog Systems: They use universal RX5808 Video Receivers which offer composite output. A lot of Analog FPV Goggles and Monitors exist due to the open nature of the hardware and software involved. The entry barrier is much lower.
- Digital Systems: Only manufacturer-specific goggles can be used due to the proprietary nature of the FPV system and the protocols used. The image quality is much better, but the latency is inferior or on par with analog systems, depending on the manufacturer. Digital FPV systems are much more expensive than analog systems.
- Resolution: Higher resolution screens provide clearer images. Common resolutions are 640x480 (Analog) to 1920x1080 (Digital). High-end FPV Goggles use multiple displays, one for each eye just like most VR headsets do.
- Field of View: Affects the immersive experience; larger FOV offers more immersion.
- Diversity/Quadiversity Receivers: Use multiple antennas to improve signal reception and reduce video dropouts.


There are many types of chargers for charging your LiPo batteries: basic chargers, smart multifunction chargers, and field chargers.
- Basic Chargers: Simple and affordable. They typically charge at a fixed rate and might not have advanced features. They have basic overcharge and overcurrent protection features and are best suited for beginners.
- Smart Chargers: Allow users to set charging current, voltage, and other parameters. They include balance charging/discharging to ensure all cells in the battery are charged evenly, extending battery life and performance. They can charge various types of batteries, not just LiPo (e.g., LiFe, Li-Ion, NiMH, NiCd, Pb). They automatically discharge or charge the battery to an optimal voltage for storage, preventing damage during long periods of inactivity. Some advanced chargers can log charge cycles and provide detailed information about battery health.
- Field Chargers: Compact and portable, designed for use in the field where AC power may not be available. They provide quick charging options to get you back in the air quickly. They are usually powered by a battery.
Racing Drones:
- Built for speed and agility.
- Lightweight frames and high-power motors.
- Used in FPV racing competitions.
- Designed for performing tricks and acrobatics.
- Balance between durability and agility.
- Focus on stable and smooth flight for capturing high-quality video.
- Often have gimbal-stabilized cameras.
- Small, indoor-friendly drones.
- Propeller guards for safety.
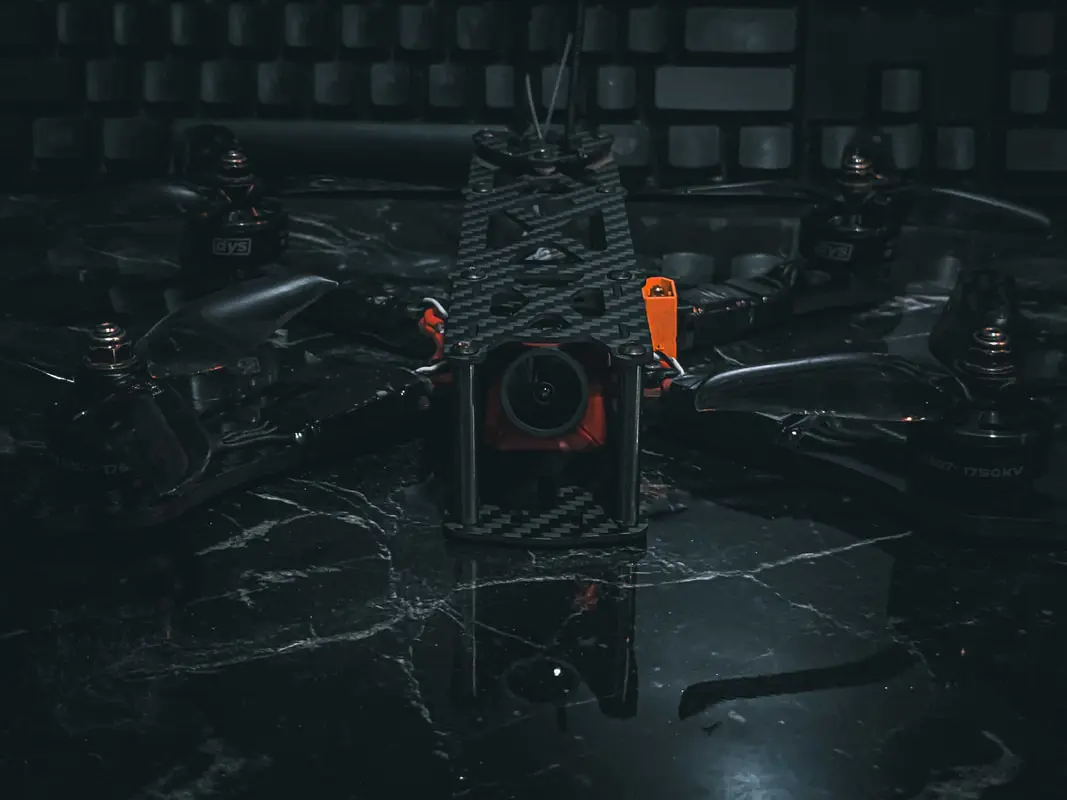
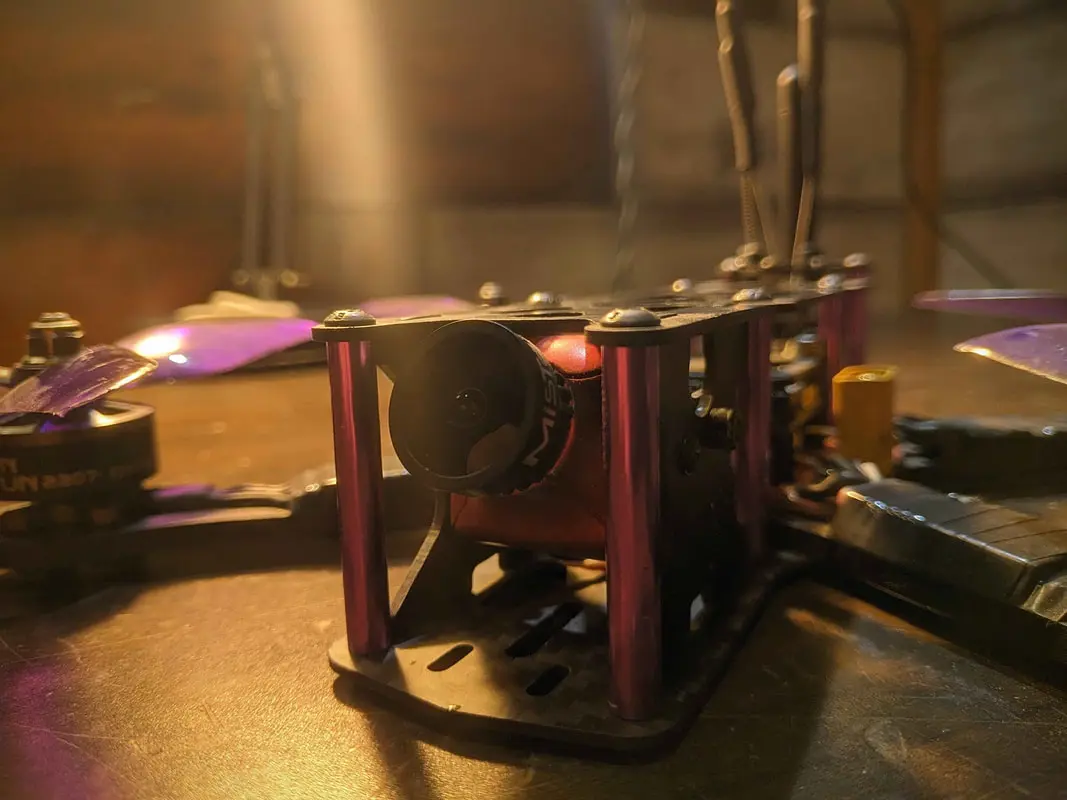
For my FPV racing drone, I chose the following parts:
- Frame: Martian II 220mm
- Motors: DYS SUNFUN 2207 2450KV brushless motors
- ESC: LITTLE BEE FVT 30A BlHeli S ESC
- Flight Controller: Omnibus F4 Pro v2
- Propellers: Racerstar 5048 5" propellers
- Battery: GensAce 45C/90C 1800mAh 3S XT60 LiPo battery
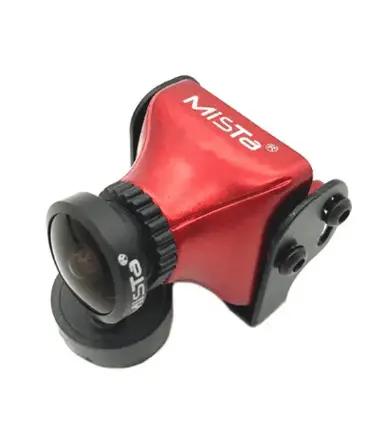
- Camera: Mista 800TVL CCD camera
- VTX: AKK X1 5.8GHz 600mW VTX
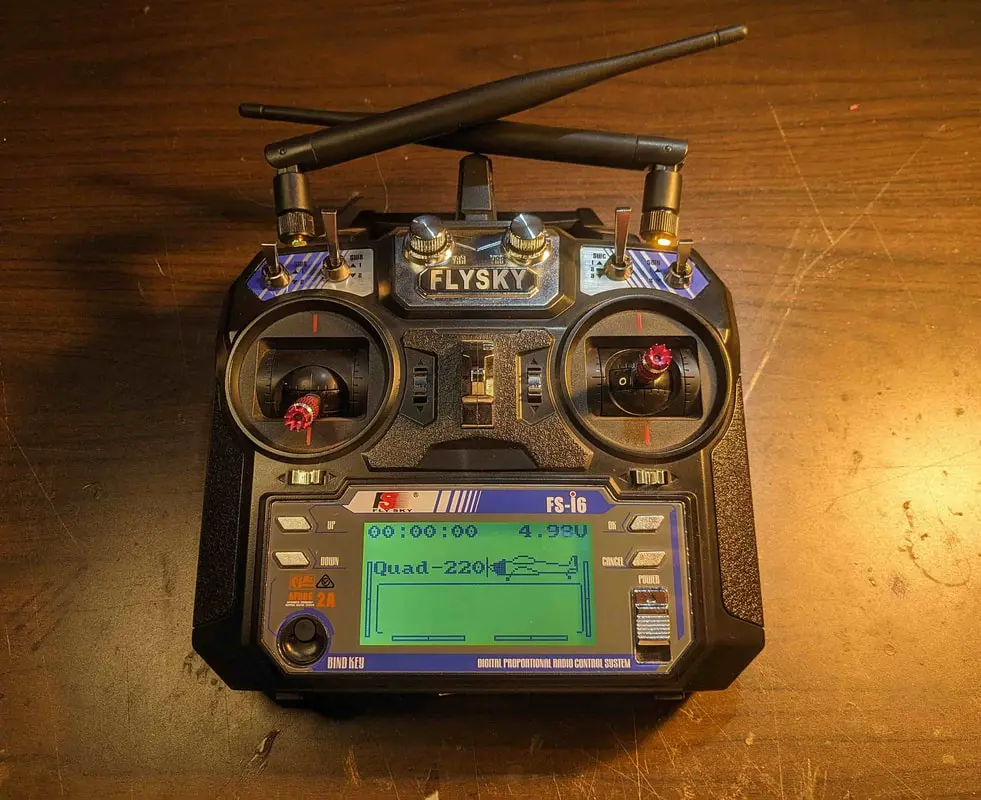
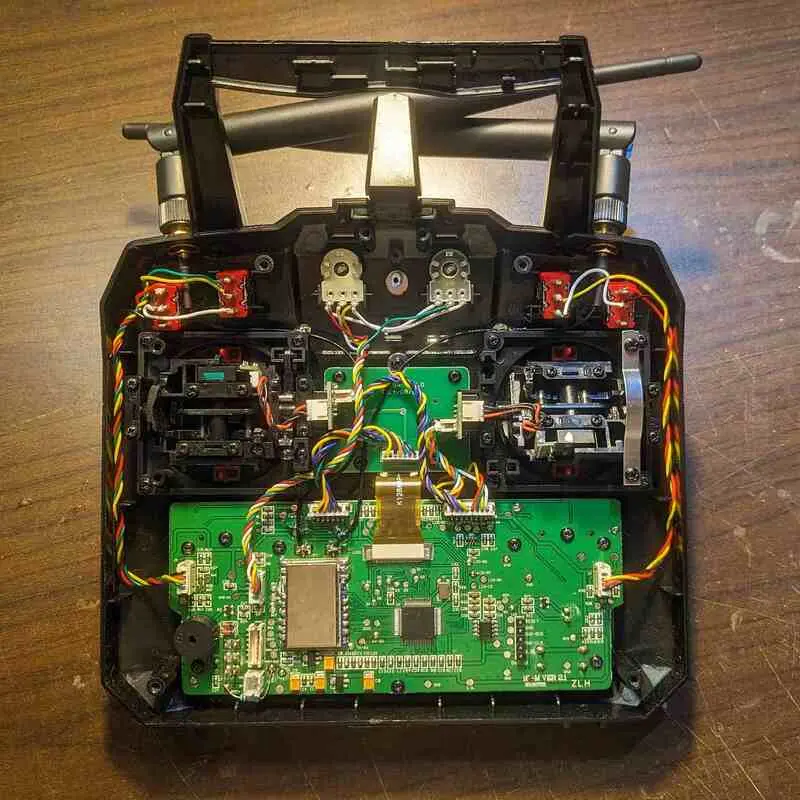
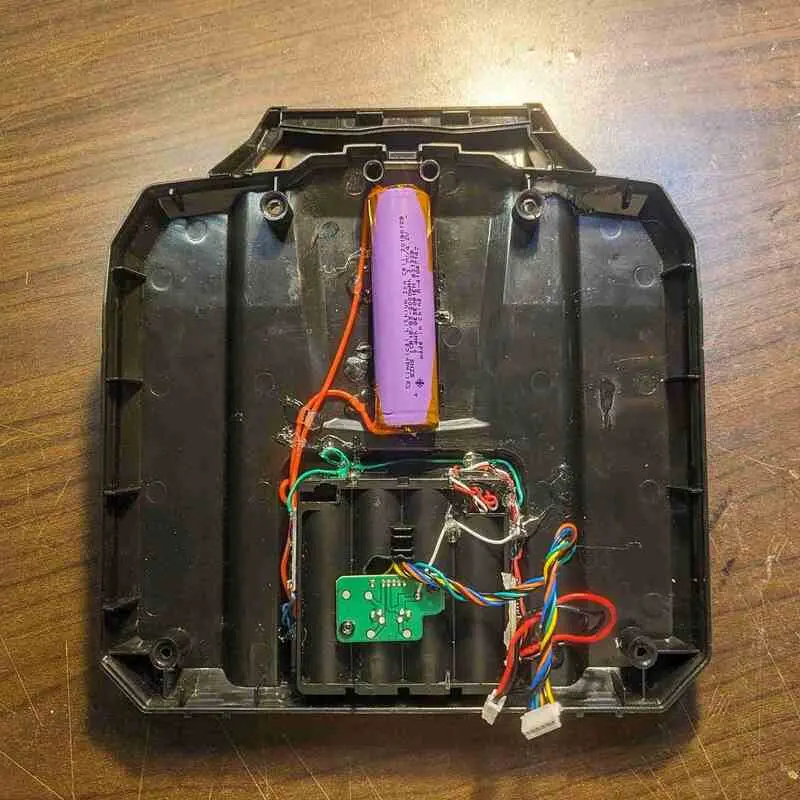
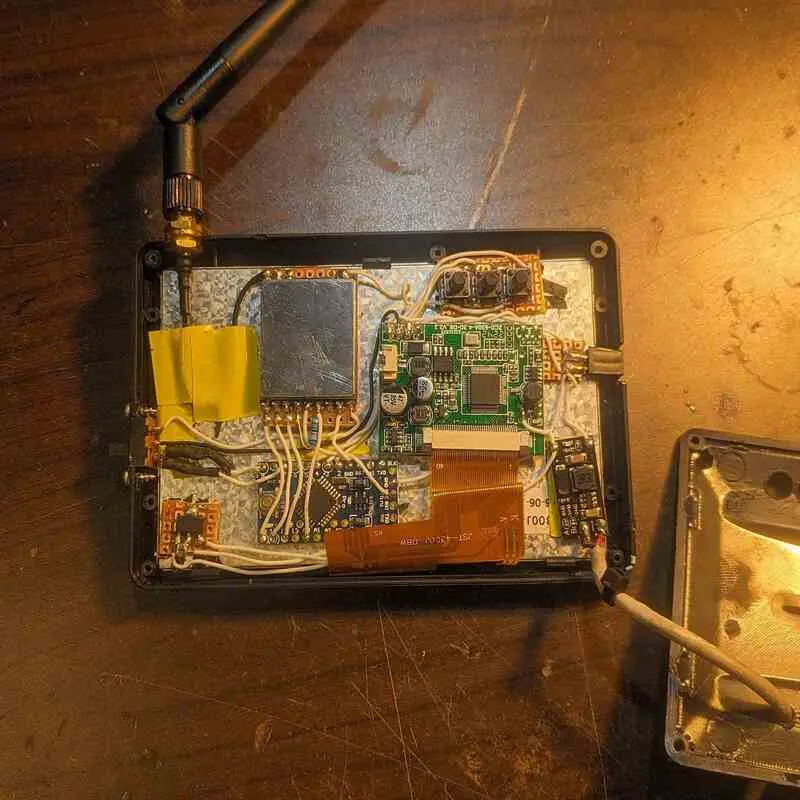
- Radio Transmitter and Receiver: FlySky FS-i6 (heavily modified) with FS iA6b diversity receiver (modified for voltage telemetry)
- FPV Monitor: DIY solution with AV monitor and RX5808 receiver (analog)
Over two years, I saved all I could and bought these parts one by one. Now, it was time to start building. Due to the modular nature of these parts, even an inexperienced person could do it. The final result was much more spectacular than I had hoped for.
For a friendly step-by-step guide, refer to this: Oscar Liang's Guide.Great Youtube channel for all things FPV: Joshua Bardwell Configuring the Software:
I chose Betaflight for my software. After flashing, I configured the basic settings like ports, gyro calibration, radio linking, receiver binding, channel order correction, and ESC calibration and protocol setting.
First Flight:
Finally, it was time to fly it. After two years of saving and researching, annnnd I crashed it, nearly killing my neighbor in the process. The LiPo battery was punctured, propellers broken, and my hopes shattered.After going through the stages of grief, I wondered what had gone wrong. Long story short, I had messed with the PID settings, making the quadcopter super sensitive to inputs and resulting in a crash.
What is PID?
In short, PID, which stands for Proportional, Integral, Derivative, is an algorithm in a flight controller's software that interprets sensor data and radio stick commands to determine the necessary motor speeds for achieving the desired rotational rate.
The primary goal of a PID controller in an FPV drone is to correct any "error" by adjusting the motor speeds. This control loop continuously reads sensor data and calculates motor speeds to minimize the error. Betaflight can perform up to 8000 control loops per second by setting the PID Loop Frequency to 8KHz in the software.For a more detailed read, visit this Oscar Liang's PID Guide.
Build Process And How Not To Crash (hopefully):
The Final build process should go like this:
- Choose a drone type.
- Select the parts.
- Start building.
- Choose and flash the firmware.
- Configure the firmware.
- Configure ESCs, Radio, and FPV gear.
- First flight.
- Tuning.
- Few more flights.
- Tune further.
- Further upgrades in the future.